

Maintaining a cool and comfortable environment at home relies heavily on the efficient functioning of your air conditioning system. However, the often-overlooked yet critical aspect of ensuring its optimal performance is regular AC coil cleaning. These coils, responsible for heat transfer within the system, tend to accumulate dirt and debris over time, hindering efficiency.
In this guide, discover the significance of cleaning AC coils, essential tools required, step-by-step DIY instructions, professional cleaning insights, preventive measures, and answers to common queries. Elevate your understanding to maintain a smoothly running AC system and a cooler indoor atmosphere.
The Importance of AC Coil Cleaning
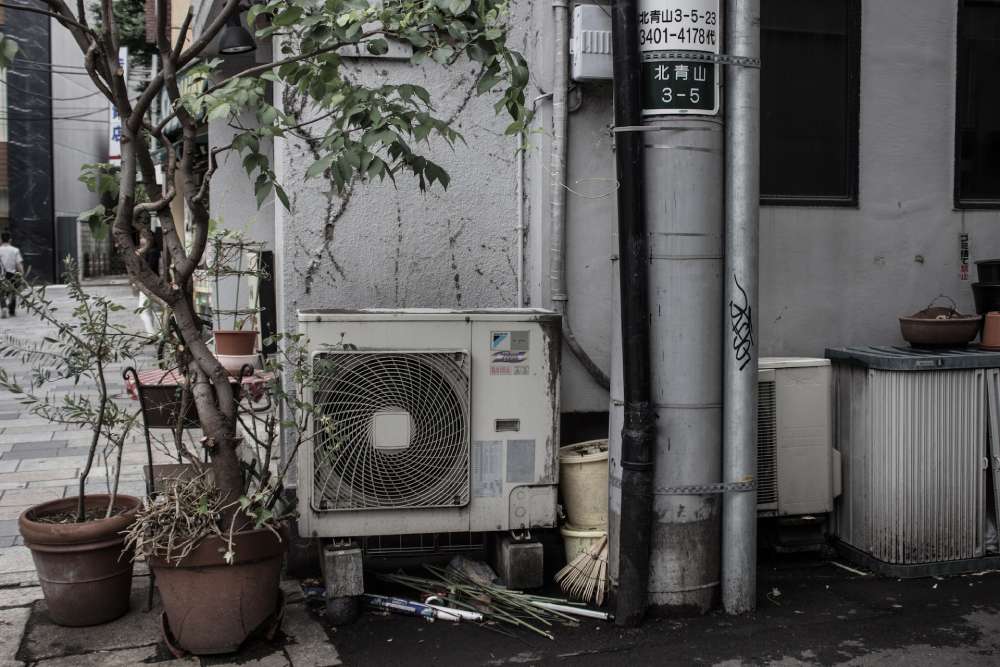
AC coil cleaning holds significant importance in maintaining the efficiency and proper operation of air conditioning systems. The coils, both evaporator and condenser, play crucial roles in the cooling process by transferring heat. Over time, these coils accumulate dirt, dust, and debris, hindering their ability to function optimally.
Here are some reasons highlighting the importance of AC coil cleaning:
- Enhanced Efficiency
Clean coils ensure efficient heat transfer. When coils are dirty, they struggle to absorb and release heat, causing the system to work harder and ingest more energy to achieve the desired cooling.
- Improved Air Quality
Dirty coils can lead to poor indoor air quality as they may harbor contaminants, mold, and bacteria. Cleaning coils reduces the circulation of these pollutants, promoting healthier air indoors.
- Extended System Lifespan
Regular AC maintenance, including coil cleaning, can prolong the lifespan of the air conditioning unit. Accumulated dirt and grime can lead to corrosion or other damage if left unaddressed, resulting in costly repairs or premature system failure.
- Prevention of System Breakdowns
Neglecting coil cleaning can push the system to overheat or freeze up, leading to malfunctions or breakdowns. Routine cleaning helps prevent these issues, ensuring uninterrupted cooling during hot weather.
- Energy Savings
A clean system operates more efficiently, consuming less energy to cool the space. This translates to lower utility bills and diminished energy usage, benefiting the environment and your wallet.
Tools and Materials You’ll Need
When preparing for an AC coil cleaning, having the right tools and materials is crucial to guarantee a thorough and effective cleaning process. Here’s a comprehensive checklist of the essential items you’ll need:
- Safety Gear
Ensure personal protection with safety goggles that shield your eyes from debris and gloves to safeguard hands from chemicals and sharp edges. These items are vital for preventing potential injuries while handling cleaning solutions and operating tools during the AC coil cleaning process.
- Cleaning Solutions
Utilize a mild detergent or a specialized coil cleaner recommended by the manufacturer. Alternatively, vinegar or bleach, if suitable for your AC unit, can effectively remove grime and buildup from the coils, aiding in optimal cooling performance.
- Tools
Equip yourself with a soft-bristle brush or coil cleaning brush to dislodge debris, a fin comb to straighten bent fins for improved airflow, a vacuum cleaner with a soft brush end for loose dirt removal, and a screwdriver or wrench for accessing internal components during cleaning.
- Protective Covering
Utilize plastic sheeting or a tarp to shield surrounding areas from potential water damage or cleaning solution splashes while undertaking the AC coil cleaning task.
- Optional Accessories
Consider using a coil fin straightener for delicate fin straightening and a coil cleaning solution sprayer for more uniform application and efficient cleaning. However, these accessories are optional for basic cleaning procedures.
Step-by-Step Process to DIY AC Coil Cleaning
Cleaning AC coils is an essential maintenance task that ensures optimal performance and energy efficiency of your air conditioning system. Here’s a step-by-step guide to help you perform DIY AC coil cleaning:
Step 1: Safety First and Preparation
Ensure safety by wearing protective gloves and goggles. Turn off the power to your air conditioning system from the main electrical panel. Gather the necessary tools, including a screwdriver, vacuum cleaner with a soft brush attachment, fin comb or brush, water hose with a sprayer, and a coil cleaner solution.
Step 2: Locate and Access the Coils
Identify the evaporator coils (usually indoors near the air handler) and the condenser coils (outdoors in the unit). Use a screwdriver to remove access panels or covers to reach the coils safely.
Step 3: Clear Surface Debris
Carefully remove visible debris like leaves, dirt, or twigs around the coils. Operate a vacuum cleaner with a soft brush attachment to gently eliminate loose dirt without damaging the coils.
Step 4: Apply Coil Cleaner
Follow the manufacturer’s instructions for the coil cleaner solution. Apply the cleaner generously on the coils, focusing on areas with heavy dirt buildup. Allow it to sit for the suggested duration.
Step 5: Rinse the Coils
Use a water hose with a sprayer attachment to rinse off the coil cleaner thoroughly. Begin from the top and work your way down to avoid forcing debris further into the coils. Ensure the cleaner and dirt are washed away completely.
Step 6: Finishing and Reassembly
Straighten any bent fins utilizing a fin comb or brush to maintain proper airflow. Let the coils air dry completely before reassembling any panels or covers. Turn the power back on and test your air conditioner to confirm it’s functioning correctly.
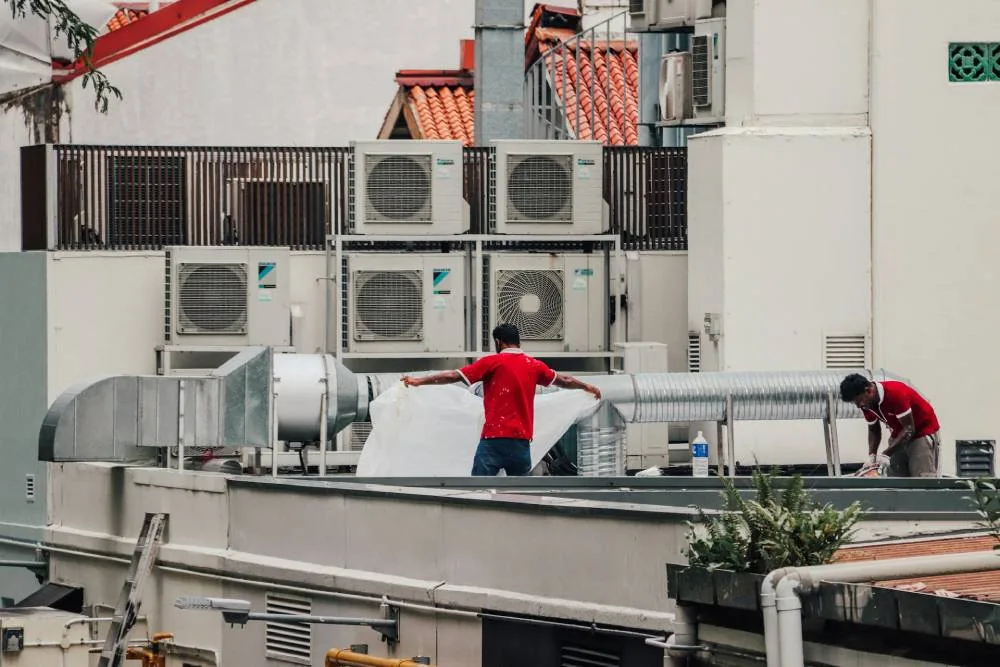
Professional AC Coil Cleaning
It’s recommended to have a professional AC coil cleaning performed under certain circumstances to ensure the efficient and optimal operation of your air conditioning system. Here are some situations when it’s advisable to call for professional AC coil cleaning:
- Reduced Cooling Efficiency
If your air conditioner isn’t cooling as effectively as it used to despite regular filter changes, the coils might be dirty. Reduced cooling efficiency is often a sign that the coils need cleaning.
- Visible Dirt or Debris
If you can visibly see dirt, dust, or debris accumulating on the coils, it’s a clear indication that they need cleaning. This buildup can hinder the AC’s performance.
- Increased Energy Bills
An upsurge in your energy bills without any change in usage patterns could be due to an inefficiently running AC system. Dirty coils can force the system to work harder, consuming more energy.
- Unpleasant Odors
Foul or musty odors from your air conditioning vents could signal mold or bacterial growth on the coils. This not only affects air quality but also indicates the need for professional cleaning.
- Ice Formation
If your AC coils are frozen or have ice buildup, it’s likely due to poor airflow caused by dirt accumulation. This requires immediate attention from a professional to prevent further damage to the system.
Preventive Measures: Keeping Your AC Coils Clean and Healthy
Maintaining clean and efficient AC coils is crucial for optimal HVAC performance. Regular cleaning, filter changes, and professional maintenance are key. Here are the six essential preventive measures to ensure your coils remain in top condition.
- Regular Cleaning
Schedule regular cleaning of your AC coils. Ensure the coils are free from dirt, dust, and debris that can accumulate over time. Utilize a soft brush or vacuum to remove surface debris gently.
- Change Air Filters
Replace air filters regularly, typically every 1-3 months, depending on use and the type of filter. Clean filters improve airflow, preventing debris from reaching the coils.
- Keep Surroundings Clean
Maintain a clean area around the outdoor unit (condenser) to prevent leaves, grass clippings, and other debris from entering and clogging the coils. Trim foliage and remove obstructions near the unit.
- Professional Maintenance
Schedule annual professional maintenance checks for your HVAC system, including a thorough inspection and cleaning of the coils by a certified technician, such as from the National Air Duct Cleaners Association (NADCA).
- Check for Refrigerant Leaks
Low refrigerant levels can cause the coils to freeze and reduce efficiency. If you suppose a refrigerant leak, contact a professional to repair it and recharge the system.
- Use Coil Protection
Consider installing coil protection or covers for the outdoor unit during periods when it’s not in use, especially during fall and winter, to prevent debris accumulation.
AC Coil Cleaning FAQs
Which is the right way to clean coils in an AC?
The best way to clean AC coils involves several steps: Begin by turning off the power to the unit and removing its outer cover. Clean the coils and fins utilizing a soft brush or vacuum to remove debris. Apply a specialized coil cleaner and rinse thoroughly with a gentle stream of water. Let the coils dry entirely before reassembling the unit for optimal efficiency.
What is safe to clean AC coils with?
Safe AC coil cleaning can be done using a mild household detergent mixed with water. Apply the solution onto the coils using a low-pressure sprayer. While commercial coil cleaners exist, this DIY method is effective and safe. Avoid using drastic chemicals that could damage the coils. Regular cleaning helps maintain the efficiency of your air conditioner.
What is the home solution for cleaning AC coils?
Create a DIY cleaning solution for AC coils by mixing one cup of vinegar and half a cup of baking soda in a water gallon. This natural solution effectively cleans air filters, coils, and drain pans. Use it for regular maintenance to improve your AC’s efficiency and air quality.
How long do you leave the AC coil cleaner on?
Leave the AC coil cleaner on for 5 to 10 minutes as per the instructions on the product label. Apply a generous amount to the coil assembly, allowing it to sit for the specified duration. Afterward, lightly agitate any remaining dirt or debris using a brush or gloved hand. Follow the recommended time frame for optimal cleaning effectiveness.
Can I turn on the AC after cleaning the coils?
After cleaning the evaporator coils, it’s crucial to let the system dry before restarting the AC. Leave the access panel off for 30 to 60 minutes before turning the system back on. This allows any moisture from cleaning to evaporate, preventing potential damage and ensuring optimal AC performance.
Conclusion
It is clear that regular AC coil cleaning is vital for energy efficiency, optimal performance, and indoor air quality. By following DIY steps with basic tools or seeking professional help, you can enhance your air conditioner’s longevity, lower energy bills, and ensure a consistently cool and healthy environment. Prioritize routine maintenance to keep your AC system running smoothly and your home comfortably cool.
If you need an expert for AC coil cleaning or maintenance, contact us at Tropic Air-conditioning Inc. We’re here to assist you with our specialized services and ensure your air conditioner runs efficiently and smoothly.